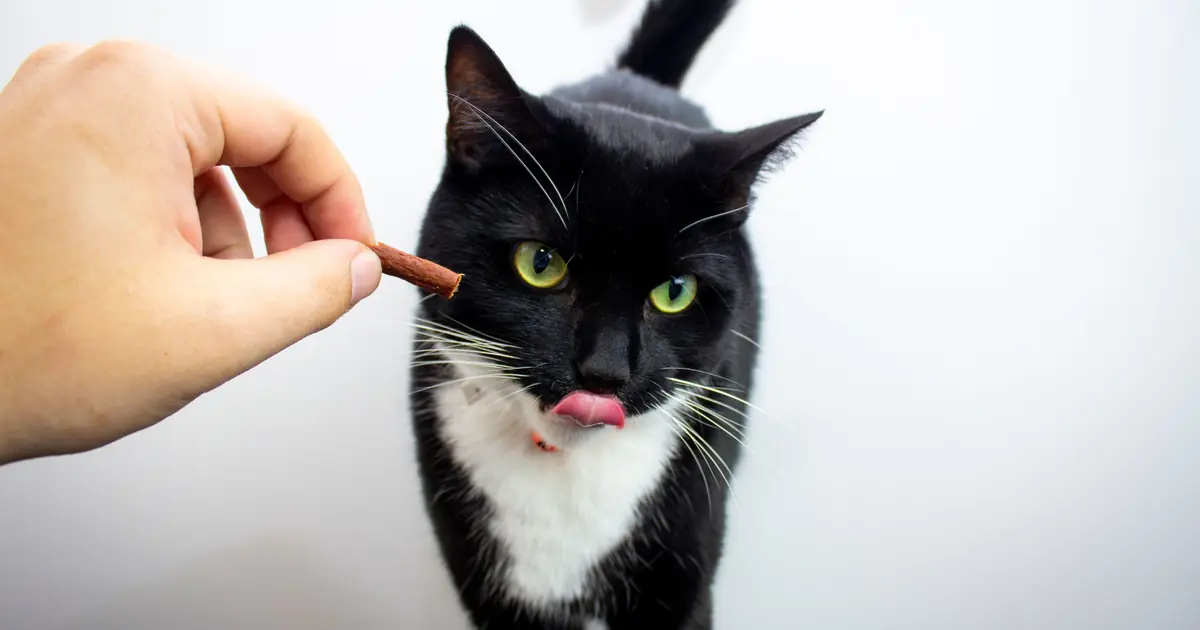
You know the sound. The tiny crinkle of a treat bag, and suddenly your cat teleports from a dead sleep across the house, meowing like they haven’t eaten in a week. (They ate an hour ago.) Cats love treats. And honestly, making your own at home is easier than most people think.
The trick is keeping homemade cat treats simple and safe. Cats are true carnivores, so meat does the heavy lifting here. You don’t need fancy tools or a long grocery list. You need a few clean ingredients, a warm oven, and the short list of foods to keep far away from your cat.
Here’s how to make homemade cat treats your cat will lose their mind over, without accidentally feeding them something risky.
- Homemade cat treats work best when built around cooked meat or fish, like chicken, turkey, tuna, salmon, or plain scrambled egg.
- Never add onion, garlic, chives, chocolate, grapes, raisins, xylitol, alcohol, or heavy salt, since these foods are toxic to cats.
- Treats should stay under about 10% of your cat’s daily calories, so their balanced main diet still does the real feeding.
- Homemade treats are snacks, not complete nutrition, so they can’t replace a proper cat food.
- Fresh homemade treats keep about 3 to 5 days in the fridge and up to 3 months in the freezer in an airtight container.
Are homemade cat treats safe and good for cats?
Yes, homemade cat treats are safe and good for cats as long as you use cat-friendly ingredients and keep treats to a small part of the daily diet. The upside of making your own is simple: you control exactly what goes in. No mystery fillers, no artificial dyes, no heavy salt.
The catch is that treats are just that, treats. They aren’t balanced meals. A plain chicken snack doesn’t have the full mix of taurine, vitamins, and minerals your cat needs to thrive. That balance comes from a complete, AAFCO-compliant cat food. Homemade treats sit on top of that, like a little bonus, not a replacement.
So the rule of thumb is easy. Make the treats fun and tasty, keep them small, and let your cat’s regular food carry the nutrition. If your cat has a health condition like kidney disease, diabetes, or a food sensitivity, check with your vet before adding any new treat.
What ingredients are safe for homemade cat treats?
Safe ingredients for homemade cat treats are cooked, unseasoned animal proteins plus a few gentle extras. Cats are obligate carnivores, meaning meat isn’t optional for them, it’s the whole point. So protein leads every good recipe.
Here are the ingredients that are safe to build treats around:
- Cooked chicken or turkey: plain, boneless, skinless, no seasoning. A cat favorite and easy to shred or slice.
- Cooked fish: canned tuna (in water, not oil or brine) or cooked salmon offer omega-3s cats love. Keep fish an occasional treat, not a daily one.
- Egg: fully cooked, scrambled or hard-boiled. Eggs are a great, cheap protein. Always cook them first.
- Plain cooked meat: lean beef or liver in small amounts. Liver is rich, so a little goes a long way.
- Plain canned pumpkin: pure pumpkin (not pie filling) adds fiber and can help with digestion.
- A pinch of catnip: safe, fun, and it makes plain treats extra exciting.
- Small binders: a little oat flour, egg, or plain cooked sweet potato helps baked treats hold together.
You can read more about which everyday foods are fine in our guides on whether cats can eat tuna and whether cats can eat eggs. Both are treat staples, and both come with a few caveats worth knowing.
What ingredients should you never use in cat treats?
Never use onion, garlic, chives, chocolate, grapes, raisins, xylitol, alcohol, or large amounts of salt in cat treats, because these foods are toxic or harmful to cats. Some are dangerous even in small amounts, and a few (like onion and garlic) stay toxic even after cooking.
Here’s the list to memorize before you cook anything:
- Onion, garlic, chives, and leeks: these damage a cat’s red blood cells and can cause anemia. Garlic is actually more potent than onion, and cooking doesn’t make it safe. Skip all of them, including any powder or seasoning that hides them.
- Chocolate: contains theobromine and caffeine, both toxic to cats.
- Grapes and raisins: linked to kidney failure in pets. Not worth the risk.
- Xylitol: an artificial sweetener in gum, peanut butter, and baked goods. Very dangerous.
- Alcohol and raw yeast dough: both can cause serious poisoning.
- Too much salt or sugar: cats don’t need either, and lots of salt can make them sick.
- Heavy dairy: most adult cats are lactose intolerant, so milk and cheese often cause upset tummies. A tiny lick won’t hurt most cats, but don’t build treats around it.
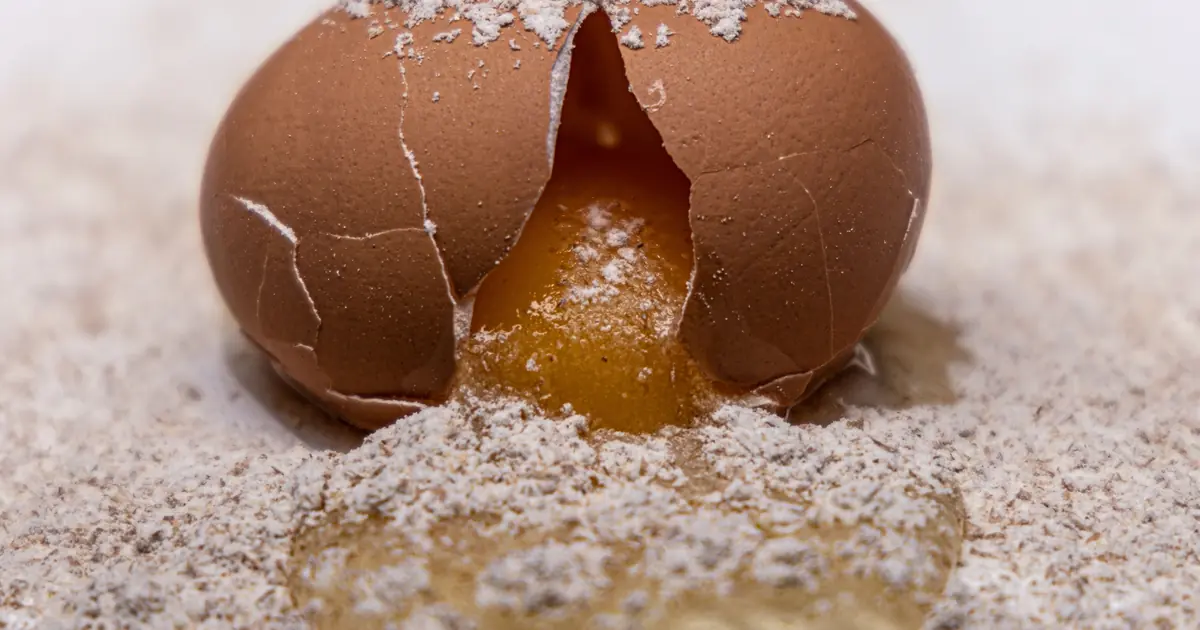
- Raw egg whites: contain avidin, which blocks a vitamin cats need. Cook eggs fully.
- Cooked bones: they can splinter and cause choking or internal injury.
The ASPCA keeps a running list of people foods to avoid feeding your pets, and it’s worth a quick read before you start baking. When in doubt, leave it out.
Safe vs. avoid ingredients at a glance
| Safe to use | Never use |
|---|---|
| Cooked chicken or turkey (plain) | Onion, garlic, chives, leeks |
| Canned tuna in water | Chocolate |
| Cooked salmon | Grapes and raisins |
| Fully cooked egg | Xylitol (sweetener) |
| Plain canned pumpkin | Alcohol and raw dough |
| A pinch of catnip | Heavy salt or sugar |
| Small amount of oat flour | Milk, cheese in large amounts |
Easy homemade cat treat recipes
The best homemade cat treat recipes use two or three simple ingredients and a low, slow bake. None of these need special skills. Keep every piece pea-sized or smaller, since cats eat treats in tiny bites, and let everything cool fully before serving.
1. Three-ingredient tuna crackers
Crunchy, fishy, and gone in seconds. Cats go wild for these.
You’ll need: 1 can tuna in water (drained), 1 egg, about 1 cup oat flour.
- Preheat your oven to 350°F (175°C).
- Mash the drained tuna in a bowl until smooth.
- Mix in the egg, then add oat flour a little at a time until you get a firm dough.
- Roll the dough thin (about a quarter inch) on parchment paper.
- Cut into tiny squares with a knife or pizza cutter.
- Bake 10 to 12 minutes, until firm and lightly golden.
- Cool completely before serving. They should be crunchy, not soft.
2. Simple chicken jerky
Just one ingredient. This is the purest treat on the list.
You’ll need: 1 boneless, skinless chicken breast.
- Preheat your oven to its lowest setting, around 170 to 200°F (75 to 95°C).
- Slice the raw chicken breast into thin strips, about an eighth of an inch thick.
- Lay the strips on a parchment-lined baking sheet, not touching.
- Bake 2 to 3 hours, until fully dried and no longer moist inside.
- Cool, then snap or cut into bite-sized pieces.
- Store in the fridge and use within a few days.
3. Salmon and egg bites
Soft, protein-packed, and great for older cats with fewer teeth.
You’ll need: 1 small can salmon (drained), 1 egg, 2 tablespoons oat flour.
- Preheat your oven to 350°F (175°C).
- Mash the salmon and mix in the egg until combined.
- Stir in the oat flour to firm up the mix.
- Roll into tiny balls and flatten slightly onto parchment.
- Bake 12 to 15 minutes, until set.
- Cool fully before offering one to your cat.
4. Pumpkin and chicken softies
Gentle on the tummy, and the fiber can help with hairballs.
You’ll need: half a cup cooked shredded chicken, 2 tablespoons plain canned pumpkin, 1 egg, oat flour as needed.
- Preheat your oven to 350°F (175°C).
- Blend the chicken, pumpkin, and egg into a paste.
- Add oat flour a spoonful at a time until it holds shape.
- Drop small dollops onto parchment paper.
- Bake 12 to 15 minutes.
- Cool and store in the fridge.
5. The no-recipe recipe: plain cooked meat
No baking, no fuss. Sometimes the best treat is just a little plain protein.
- Cook a piece of chicken, turkey, or fish plain, with no oil, salt, or seasoning.
- Let it cool completely.
- Tear or cut it into tiny, pea-sized pieces.
- Offer a few as a treat, and refrigerate the rest for up to a few days.
Want to go a step further and cook full meals? Our guide on how to make homemade cat food walks through balancing a complete diet, which is a bigger job than treats and really needs a vet’s input.
How much homemade treat can a cat have per day?
A cat should get no more than about 10% of their daily calories from treats, homemade or store-bought. For an average adult cat eating around 200 calories a day, that’s roughly 20 calories of treats, which is a small handful of tiny bites, not a whole bowl.
This 10% rule keeps two things in check. It stops treats from crowding out the balanced nutrition in your cat’s main food. And it helps prevent weight gain, since even healthy treats add up fast. A few extra calories a day sounds harmless, but on a small animal it can pile on the pounds over months.
Cornell’s Feline Health Center makes the same point about keeping treats and daily calories in balance. So make the batch, freeze most of it, and dole out just a few pieces at a time. Your cat will be thrilled either way.
How long do homemade cat treats last?
Homemade cat treats last about 3 to 5 days in the fridge and up to 3 months in the freezer when stored in an airtight container. Because you’re not adding preservatives, fresh treats spoil faster than the store-bought kind, so storage matters.
Here’s the simple system:
- Fridge: keep treats in a sealed container and use within 3 to 5 days. Soft, meaty treats spoil fastest, so lean toward the shorter end.
- Freezer: portion treats into small batches, freeze, and thaw a few at a time. They keep up to 3 months.
- Toss anything questionable: if a treat smells off or looks slimy, throw it out. When in doubt, it goes in the bin.
Dried treats like the chicken jerky keep a little longer than soft, moist ones. But since there are no preservatives, always store even the dry ones in the fridge to be safe.
Are homemade treats better than store-bought?
Homemade treats can be healthier than store-bought because you control the ingredients, but store-bought treats are more convenient and shelf-stable. Neither is complete nutrition, so both should stay within that 10% treat limit.
Homemade wins on transparency. You know there’s no filler, dye, or hidden salt. Store-bought wins on ease, longer shelf life, and options like dental treats that do a specific job. Plenty of cat parents do both: homemade for fun, a bag of good cat treats for busy days, and calming treats for stressful moments like vet trips.
There’s no wrong answer. The best treat is the one that’s safe, small, and makes your cat happy.
A quick safety note
This guide is educational and not a substitute for veterinary advice. Homemade treats are snacks, not balanced meals, so they can’t replace a complete cat food. Introduce any new food slowly, in tiny amounts, and watch for tummy upset. If your cat has a health condition, is on a special diet, or reacts badly to a new treat, talk to your veterinarian. For the full list of dangerous household foods, International Cat Care and the AVMA both keep helpful references on feeding cats safely and common household hazards.
Frequently asked questions about homemade cat treats
Q: What is the easiest homemade cat treat to make?
The easiest homemade cat treat is plain cooked meat. Just cook a piece of chicken, turkey, or fish with no oil, salt, or seasoning, let it cool, and cut it into tiny pea-sized pieces. No baking or recipe required, and most cats love it instantly.
Q: Can cats eat homemade treats every day?
Cats can have homemade treats daily as long as treats stay under about 10% of their daily calories. For an average adult cat, that’s roughly 20 calories, or a small handful of tiny bites. Keep the rest of the diet as complete, balanced cat food.
Q: Is tuna safe in homemade cat treats?
Tuna is safe in homemade cat treats in small, occasional amounts. Use canned tuna in water, not oil or brine, and drain it well. Tuna shouldn’t be a daily food because too much can crowd out balanced nutrition, but as a treat it’s a cat favorite.
Q: What ingredients are toxic to cats in treats?
Onion, garlic, chives, chocolate, grapes, raisins, xylitol, alcohol, and heavy salt are all toxic or harmful to cats and should never go in treats. Onion and garlic stay dangerous even after cooking. When in doubt about an ingredient, leave it out.
Q: How long do homemade cat treats stay fresh?
Homemade cat treats stay fresh about 3 to 5 days in the fridge and up to 3 months in the freezer, stored in an airtight container. Since there are no preservatives, always refrigerate them, and toss any treat that smells off or looks slimy.
Q: Can I use flour in cat treats?
You can use a small amount of flour as a binder in cat treats, and oat flour is a gentle choice. Cats don’t need grains, so use just enough to hold the treat together. The bulk of every treat should be meat or fish, since cats are meat eaters.
Q: Are homemade cat treats healthier than store-bought?
Homemade cat treats can be healthier because you control the ingredients and skip fillers, dyes, and hidden salt. But neither homemade nor store-bought treats are complete nutrition. Both should stay within the 10% treat limit alongside a balanced main diet.
Q: Do I need to cook eggs before giving them to my cat?
Yes, always cook eggs fully before giving them to your cat. Raw egg whites contain avidin, which blocks a vitamin cats need, and raw eggs carry a small salmonella risk. Plain scrambled or hard-boiled egg with no salt or butter is a safe, protein-rich treat.

Hello and welcome to The Ideal Cat!
We are some passionate cat owners from different professions. We love our cats and have a lot of experience in how to care for our pets. We are incredibly excited to share our knowledge, experience, and research with you. So you can take good care of your loving cat. We will answer most of the common questions about owning cats, taking care of them, etc. If you have any question contact with us. Thanks for visiting! Enjoy the content.
